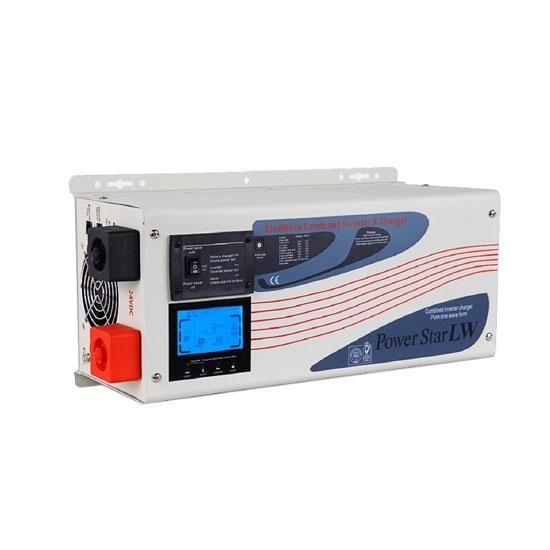
Now that you’ve done your research and purchased your ideal inverter to supply power to your RV, home or office, you’re more than ready to put it into action. But where to begin? These tips for easy inverter installation from ATO give you a great place to start.

Step 1: Find a Place to Install the Inverter
Whether you’re installing a power inverter in your vehicle, camper, RV, office or home, the process always starts off the same. Your first step is to clear away adequate space in a safe location where your inverter will be installed.
If installing your inverter in a vehicle or RV:
Look for a space that is both large enough to accommodate your inverter as well as out of the way enough to reduce the risk of accidental damage. Don’t put your inverter near a heat source or anything flammable, beneath an area where you regularly transfer fluid, or at foot level in an access way. Make sure air can freely circulate around the inverter, and that it’s relatively close to the battery from which it will draw its power.
If installing your inverter in a home or office:
You’ll again want to avoid heat sources, flammable materials and areas where surrounding activity could pose a risk. Select a dry location that is not exposed to water or moisture and out of direct sunlight. Make sure there’s enough space around your inverter for air to circulate freely.
Step 2: Mount the Inverter Securely
To make sure the electronic components inside the power inverter don’t get banged around, you want to mount the inverter to a secure type of support. Most inverters come with predrilled holes in plates on the front and back of the unit. Use screws or bolts to secure the inverter to a supportive surface, such as a sliding tray in the cargo hold of vehicles, or the floor or wall of a home or office.
Step 3: Wire the Inverter to the Battery Power
Your next step is wiring your inverter to the battery from which it will draw its power.
If installing your inverter in an RV:
For RVs, this is usually the coach battery that powers your interior functions, not the battery that powers the engine in the chassis. Follow the instructions that came with your inverter to select the proper wire size and circuit protection.
You’ll want to follow manufacturer’s instructions for grounding the inverter next. This can usually be done by fitting the inverter’s ground connector around the shank of a bolt in a chassis rail. Loosen the bolt to fit on the ground connector, and then replace the bolt securely. The gauge of the ground cable and supply cable should be the same.
Installing batteries inside the inverter is part of the process for inverters used in the home or office. You’ll start by unscrewing and removing the rear panel of the inverter, then installing the batteries by raising the top lid of the main housing to view the inside of the unit.
Install the first battery with the positive terminal facing the right side at the rear of the main housing. Install the second battery with the positive terminal to the left. Once both batteries are in their proper locations, secure the rear panel back into place.
Check the connectivity of the battery cable to ensure all is functioning properly. Always use low-resistance wiring for connecting the battery and inverter. This best accommodates the low-voltage, high-current input.
Step 4: Inverter Installation
One more step for installing an inverter in your home or office is to finalize all connections. Make sure the inverter assembly faces forward as you place it on top of the main housing unit. Remove power at the electricity board meter of your office of home, and then connect the electrical cable to the inverter.
Follow manufacturer’s instructions for connecting the electrical cables to the proper connectors in the inverter. One electric cable typically runs from the double-pole switch lighting circuit to the IEC connector, and then to the input connector in the inverter’s rear panel.
The electrical cable that runs from the load usually runs to the IEC connector and to the output connector on the inverter’s rear panel. You’ll also need to connect the batteries’ wiring harness to the input connector at the rear panel. Turning on the power at the meter and the double-pole switch lighting circuit is the final step, which automatically switches on your inverter
These tips, along with the detailed instructions that accompany your inverter, can make installing an inverter a rather straightforward task. Most inverters also come with connectors and cables, making the task even easier.
