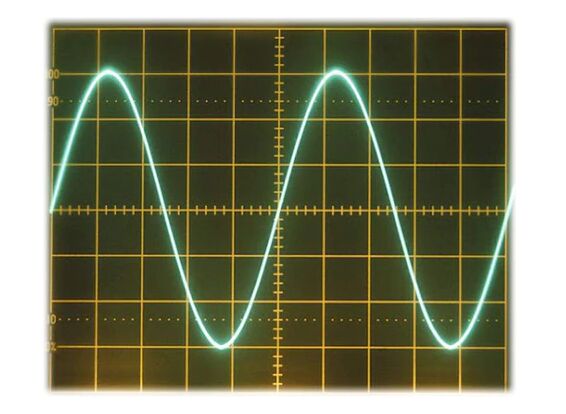
We all have had the experience of just at the critical moment, the power fails. The game on TV is on a knife-edge, or the movie has reached the climax, and, suddenly, the electricity fails. Luckily, the pure sine wave inverter can come to the rescue, converting energy into power for our electrical equipment.
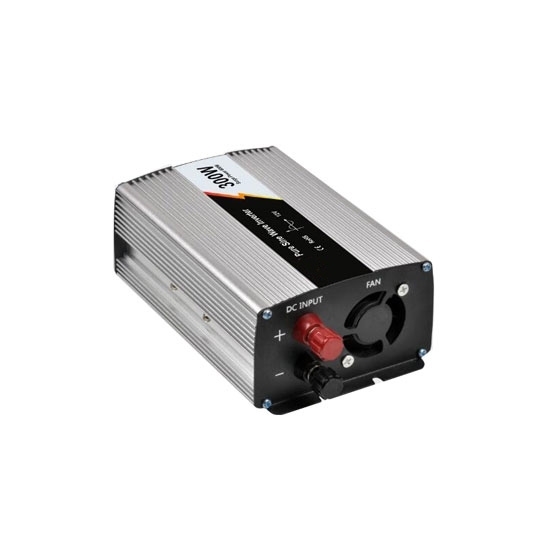
Power inverters combined with batteries make AC power available by converting the DC power stored in the battery into AC electricity to power our appliances. Here we describe all the steps required to install a pure sine wave inverter.
There are 3 types of pure sine wave inverter installations:
- Plug & Play
- Pure Sine Wave Inverter Connected to a Solar System
- Pure Sine Wave Inverter Connected to Batteries
Plug & Play
Plug and play units consist of an inverter and a battery conveniently housed as a unit. The wiring from the battery connects to the inverter, making installation and operation super easy.
These units use the regular domestic supply of electricity to charge the battery. In the event of a power failure, the inverter draws power from the battery to supply 120V to the appliances connected to the inverter.
Plug and play units make use of a two-way sequence. First, 120V AC is inverted to 12V DC to charge the battery. Then 12V DC is converted to 120V AC to power the connected appliances.
- Step 1: The first important step is determining the device’s power requirements you want to connect. To do this, you’ll need to look at the label on the device to find out the power (Watts) or the amps required to run the electrical equipment.
- Step 2: Having made sure that the pure sine wave inverter can produce sufficient power, all that is left to be done is to plug in the inverter at the wall socket and plug in your device in the socket on the inverter.
- Step 3: If the battery is charged, you can test the inverter. Do this by switching off the power from the wall socket and checking that your device is still running.
Connecting a Pure Sine Wave Inverter to a Solar Panel System
Now we will deal with installing the pure sine wave inverter onto a solar panel system.
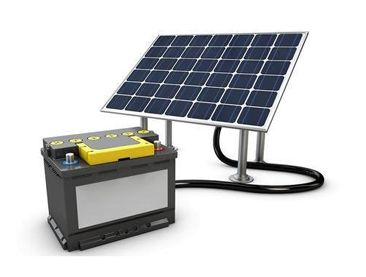
By now, you’ll be familiar with solar energy being converted into electrical power via solar panels. The DC electricity from the solar panels passes through a charge controller that ensures an almost constant supply of electricity to the batteries.
Connecting a Pure Sine Wave Inverter to Batteries
Please take care of the solar panels’ electricity before getting into the nuts and bolts of connecting the inverter. Somehow it seems that people tend to disregard the electricity delivered by the solar panels until they get startled by a spark or, even worse, get shocked.
- Step 1: If you have solar panels receiving sunlight, it is good to remove the connections from the panels to the charge controller before you go any further.
- Step 2: Disconnect the batteries from the charge controller.
- Step 3: Now you can connect the pure sign wave inverter to the batteries. It is essential to connect the positive and the negative wires to the inverter first. Then connect the negative terminal of the inverter to the battery’s negative terminal. Once that has been done, connecting the positive cable from the inverter to the battery is safe. Just to be safe, it is always a good idea to fit a fuse at the positive terminal.
- Step 4: You will need to reconnect the charge controller to the battery and reconnect the cables from the solar panels to the charge controller.
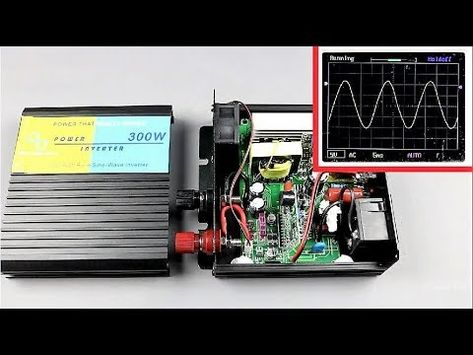
- Step 5: Switch the inverter on to check that it draws power from the batteries. The inverter screen will provide a readout of the voltage available. Plug an appliance into the inverter and switch it on to test the system.